Come learn with me!

Tag: tiktok

Grade Four

This project is such a cute idea and can be used in many different ways! It can be used for stickers, of course, but when I was in grade 12, we made these for collages. In our collages we would add paper down first, and then we would put these stickers ontop since they were translucent. My art teacher at the time also had an assortment of magazines to choose from, so we could use whatever design we wanted.

Materials:

  • Black and white photo
  • Packing tape
  • Scissors
  • Container
  • Water

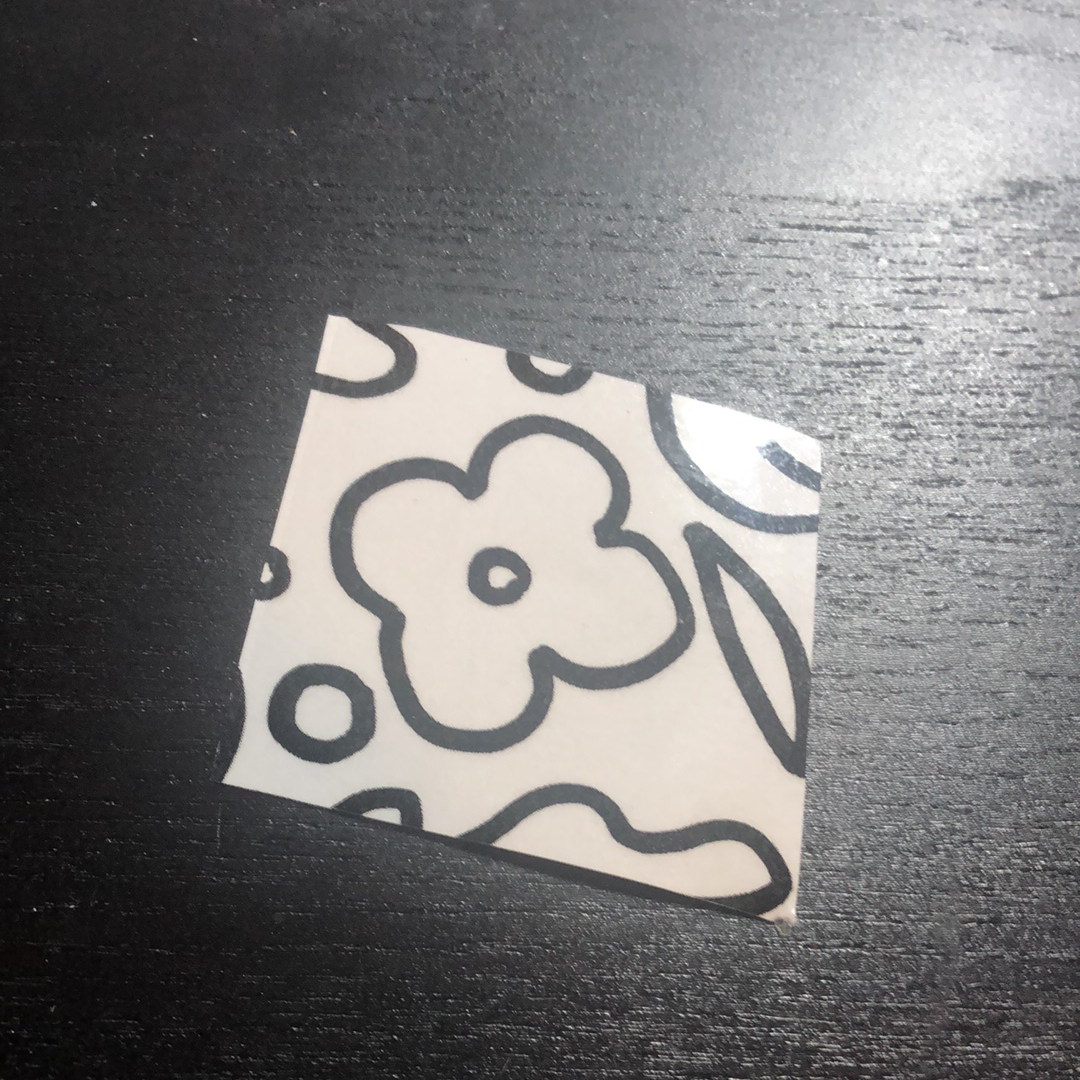
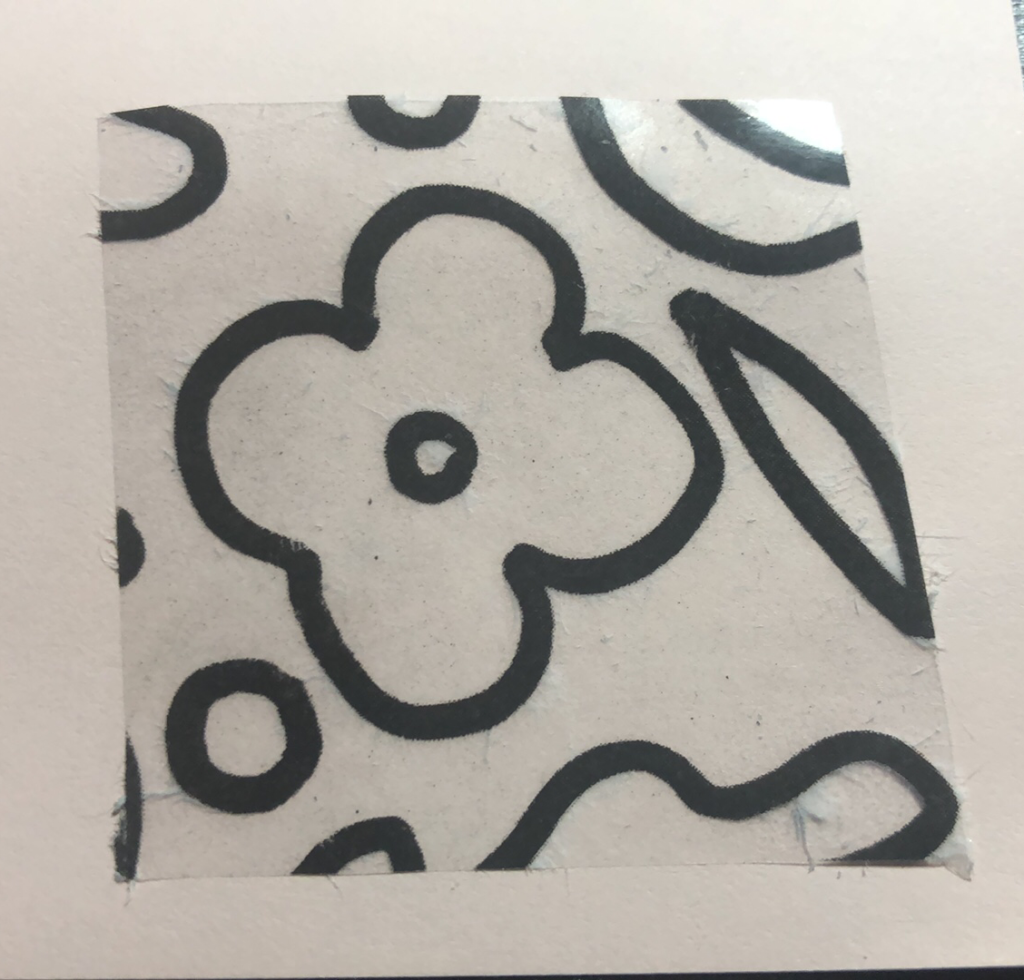
This activity is fun since it can be used in multiple different ways, it is also super fast. All you need to do is find photos you like, this works really well with magazines but printed photos work just as well. Once you have selected the photo, cover it in packing tape and smooth it down so there are no bubbles (this will create gaps in your sticker). Then cut out your paper so you are just left with the design.

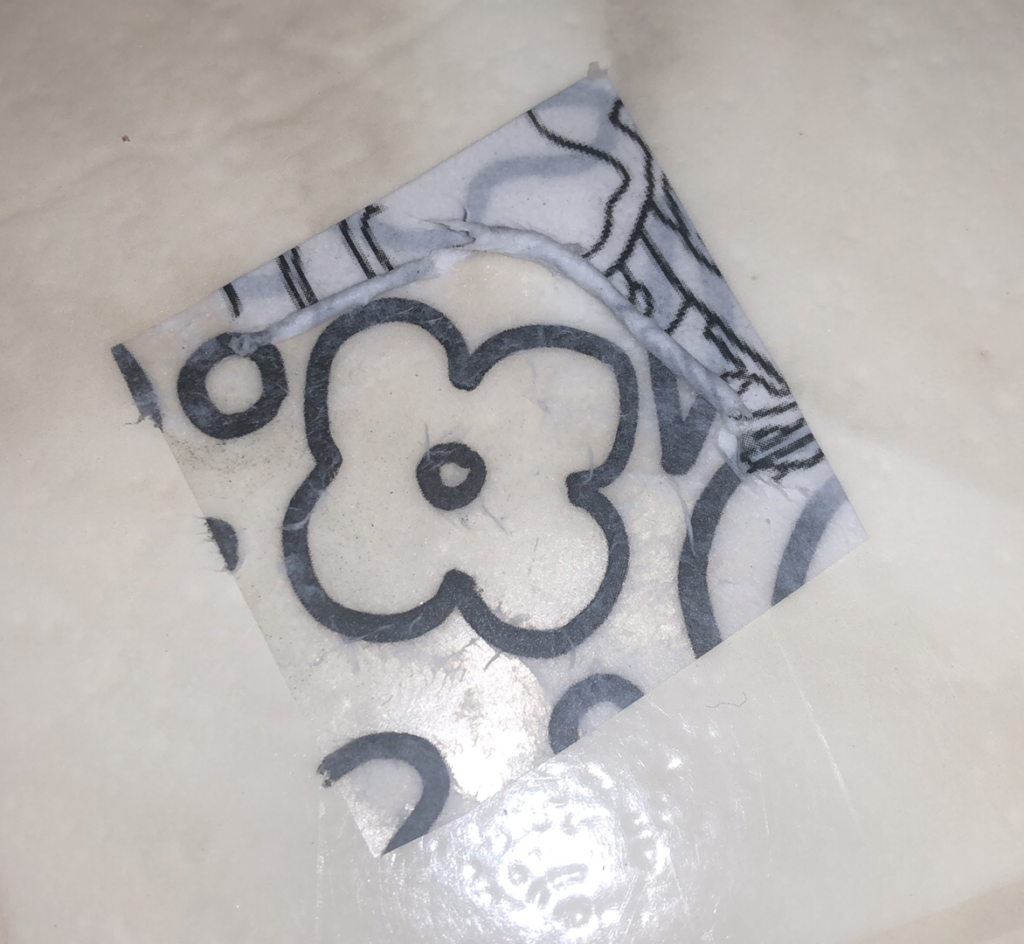
Afterwards, fill up your container with water and place your taped design inside. This will make it easier for the paper to come off later.

My design sitting in the water.

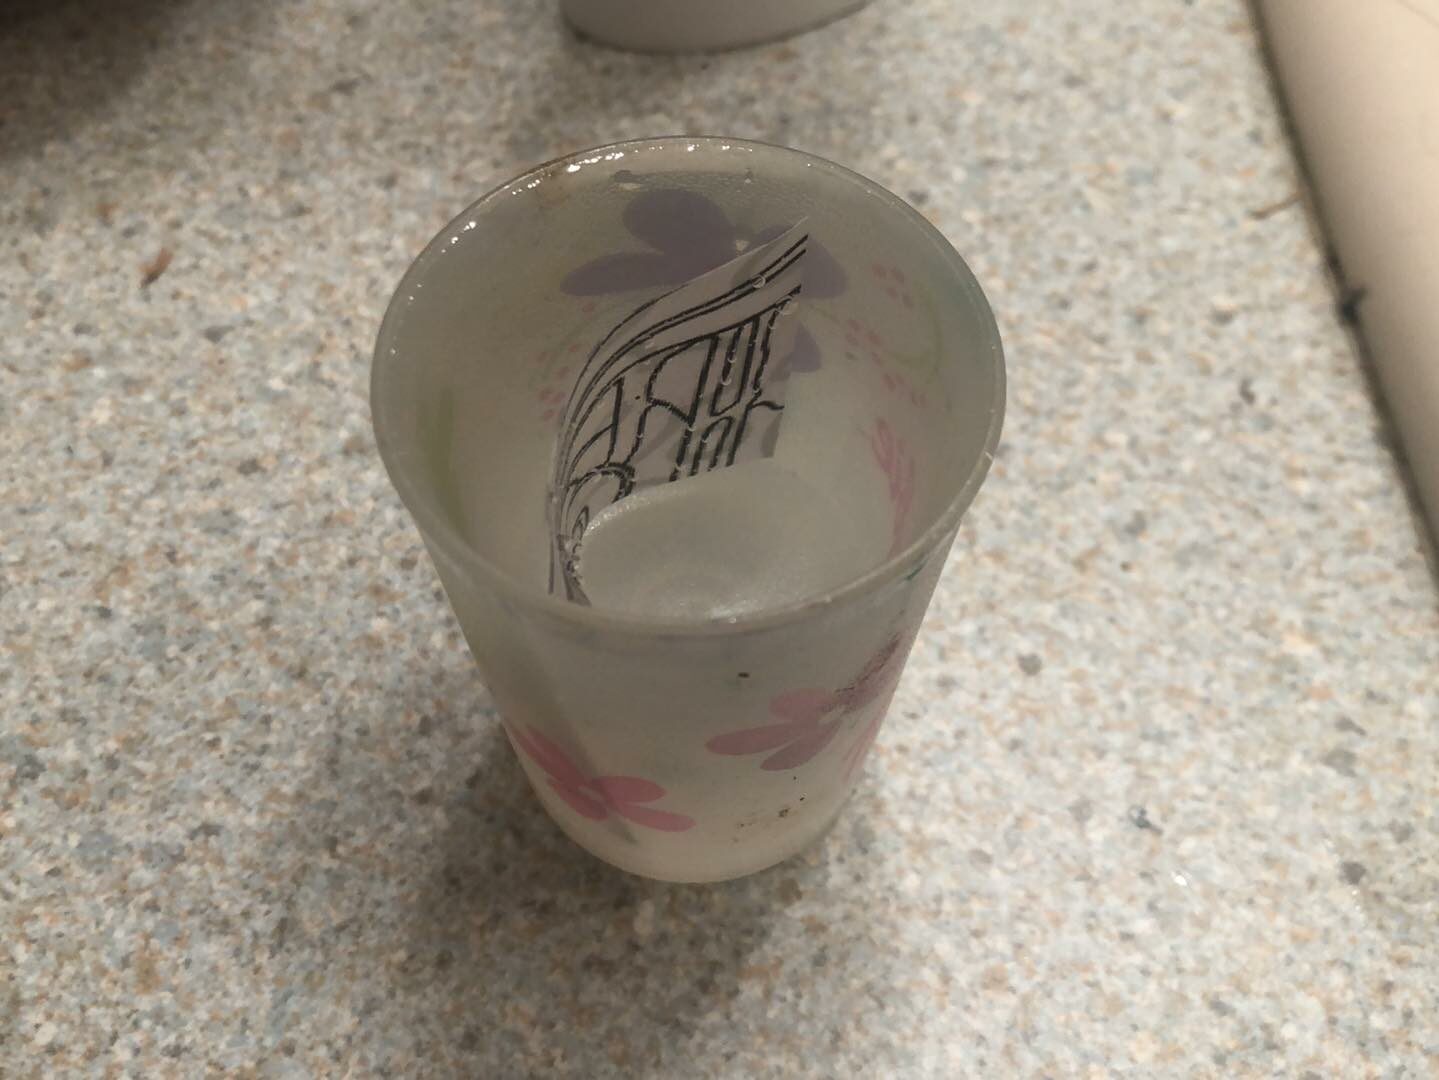
When the paper starts to peel off the back, use your fingers to feel it off gently.

Pros:

  • Really easy activity if you need something extra to do in an art class. Have all the students taking turns picking photos from magazines and off the internet to make a sticker from.

Cons

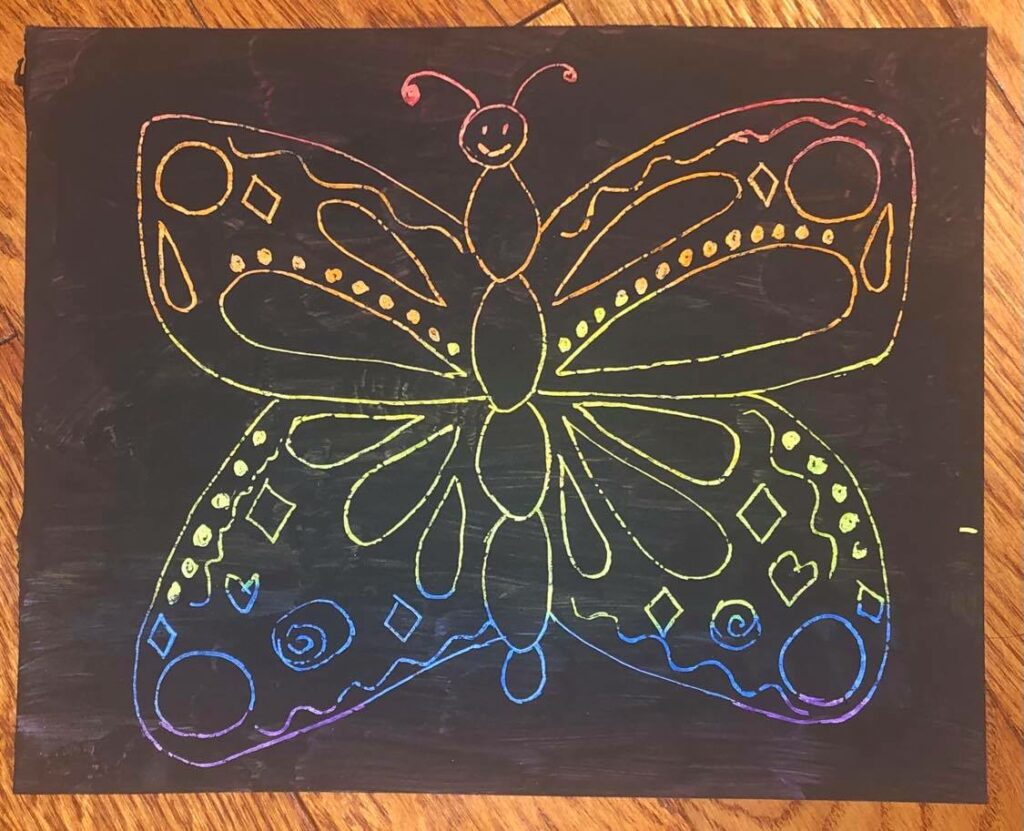
  • Doesn’t work well with coloured ink from the printer. I tried making a blue butterfly before I made the sticker in the pictures. The blue peeled off with the paper.
  • After you have peeled off the paper, there are still litte fibers stuck to it. This would not be too much of a problem if the sticker wasn’t see through. It makes the sticker look dusty.

In the end, I would make this project with a class. The stickers are really cool and the kids will all be amazed when the activity works out, I know I was when I first saw it. This activity is quick and simple and elevates an art piece to the next level. This activity would be good to teach line and movement since you do not need colour and you can print off a good example piece.

Grade Two

As an art project for grade two, I have decided to make scratch art! This is super exciting since I used to play with scratch art paper all the time when I was younger. What makes this more exciting than then, is that it is 100% made by me. For this assignment, I was inspired by this TikTok video:


For this project, I used the following materials:

  • Watercolour paper
  • Black Paint (I used acrylic)
  • Dish soap
  • Multi-coloured Crayons
  • A paintbrush
  • A toothpick or skewer

As I’ve mentioned before, this activity was a lot of fun to do. I was able to choose the colours of the background and create a fun design.

My design before I painted the black on top!

I was really worried when I was painting over all of the crayons with black paint, I thought it would stick onto the crayon. But it didn’t and I managed to scratch it off. The scratching was smooth, although sometimes chunks wouldn’t come off, I just retraced the lines and the line turned out sharp and smooth.

My final result!

Some pros of this activity are:

  • Lots of fun to complete! Students will have a fun time designing the background colour and have just as much fun scraping off the black paint. It was so satisfying I almost found it hard to stop!
  • Easy to complete and not much mess. Of course with paint, there is some mess to be expected. However, with this activity, I didn’t find the paint getting everywhere. I am also not in grade two, so it might depend on the students in the class.
  • Smells better than regular paint. Since you need to mix the dish soap with the black paint, my room did not have the strong paint smell it typically gets when I paint. Instead, it smelled like dish soap!


Cons:

  • Instructions were unclear as to whether I should add multiple coats of black. I did not end up using more than one coat since I did not want to make the top layer too thick. However, if you look closely at my picture, you can see some of the colour peeking through.
  • While colouring with the crayons, I needed to press hard on the paper to ensure all of the holes were covered and there were no white spots. This ended up using the entire head of my crayons. If you have 30 students completing this activity, prepare for some used and broken crayons.

In the end, I would use this project in my classroom! It is a lot of fun to complete and can be used to teach colour, line, movement, and different artists easily within the classroom. There are not too many cons when it comes to this activity and it did not take a lot of energy to set-up!

Kindergarten

This activity was interesting. When I was in elementary school, my mom used to make playdoh for us all the time. She would add essential oils to make it smell nice and we would get to choose our own colours, it was a really fun craft to make. However, her recipe needed to be made over the stove, which is when I first started questioning the version from this TikTok.

Of course it could just be a different recipe; however, this version did not turn out as well as the versions I had made in the past.

The materials I used are:

  • Oil
  • Flour
  • Water
  • Food colouring (optional, I didn’t use any)
  • Spoon
  • Bowl
  • Measuring Utensils

Now your probably thinking, that sounds a lot like the ingredients for dough, like food dough. And you wouldn’t be wrong. If I added some yeast to this recipe I’m sure I could make some type of bun. I still tried out the recipe anyways.

Firstly, I added all the ingredients into the bowl. I added the oil and flour and then added in the water. I didn’t have any food colouring at my house, so I decided to skip this step.

Afterwards, I mixed the dough together with a spoon and then kneaded after all the flour had been mixed in. When I kneaded the dough, there were a couple of hard bits in it. The dough could have found a couple of crumbs from my counter, but I believe it was flour, water, and oil that mixed weirdly. When kneading the dough, I noticed something was wrong. The dough was still really sticky and when I touched it, there was oil residue on my hands. Also when I stretched it, the playdoh looked like this:

It looked like pizza dough, except stickier.

For this activity, I think it is safe to say I do not need a pros and cons list. The end product is not like the video entailed and it left my hands oily and the counter sticky. I think the students would love this activity if we did it as a class, however, there would be a lot of cleanup involved. If done correctly, this activity could still teach texture, but you would knead a recipe that works.