It is finally spring and what is a better way to celebrate than by making tulips out of watercolour. Every year the tulips grow outside of my house, so I knew I had to make this project!
For this activity, I used these materials:
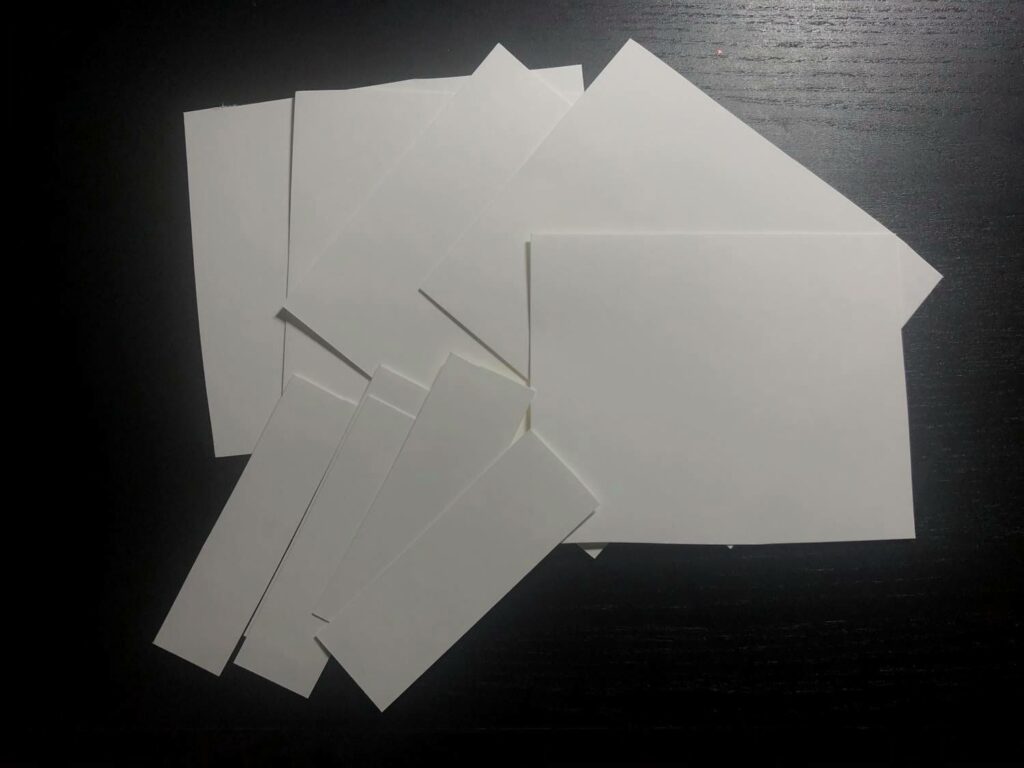
- Watercolour paper
- Watercolours
- Scissors
- Paintbrush
- Printer paper
- Glue
- Acrylic or tempera paint
If I were to use this activity in a classroom, I would be sure I spread out the art through two days are at least have a break in between for the paint to dry. Since I was making this art by myself, I did not have to paint entire sheets of paper in one colour. Instead, I divided up a sheet into 5 flower heads and 5 stems. This will be the perfect amount for one work of art.
Since this art project was posted on Instagram, I only had photos to guide me through the process. This was a little more challenging than the other projects I have done since I had to guess the steps in this craft.
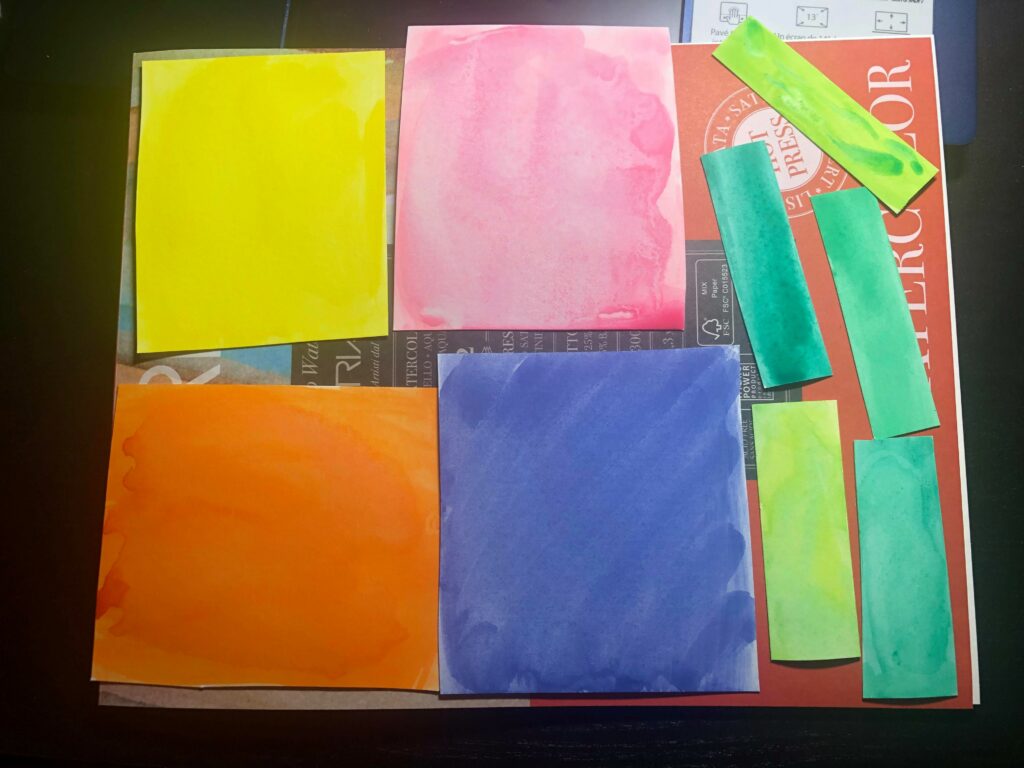
After I cut all of the papers, I coloured them individually. I decided to delve more into colour; so three flowers are going to be in warm colours (red, orange, yellow) and two flowers are going to be in cool colours (green, blue, purple). I also used darker shades of the colour within the original colour to add some texture or charecter to the painting. I am hoping that this will make my final results cooler!
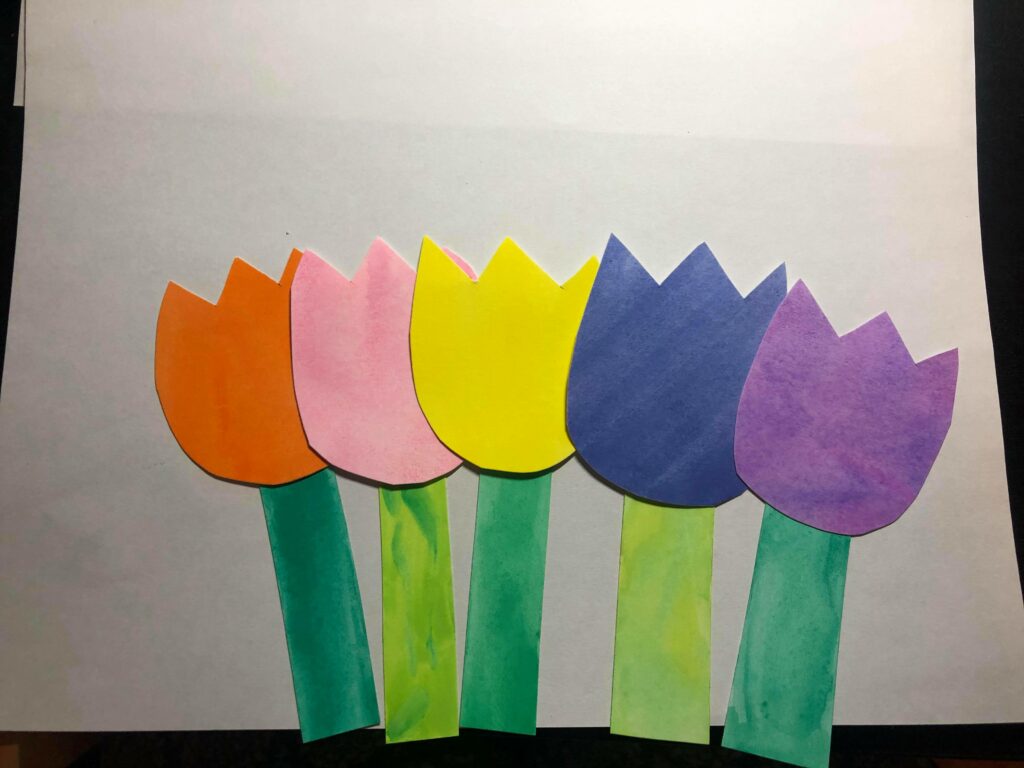
I then cut out the tulip shapes and glued them down on the paper. I draw the outline on the back of the paper so that I wouldnt have black marks on my flowers if I cut them differently.
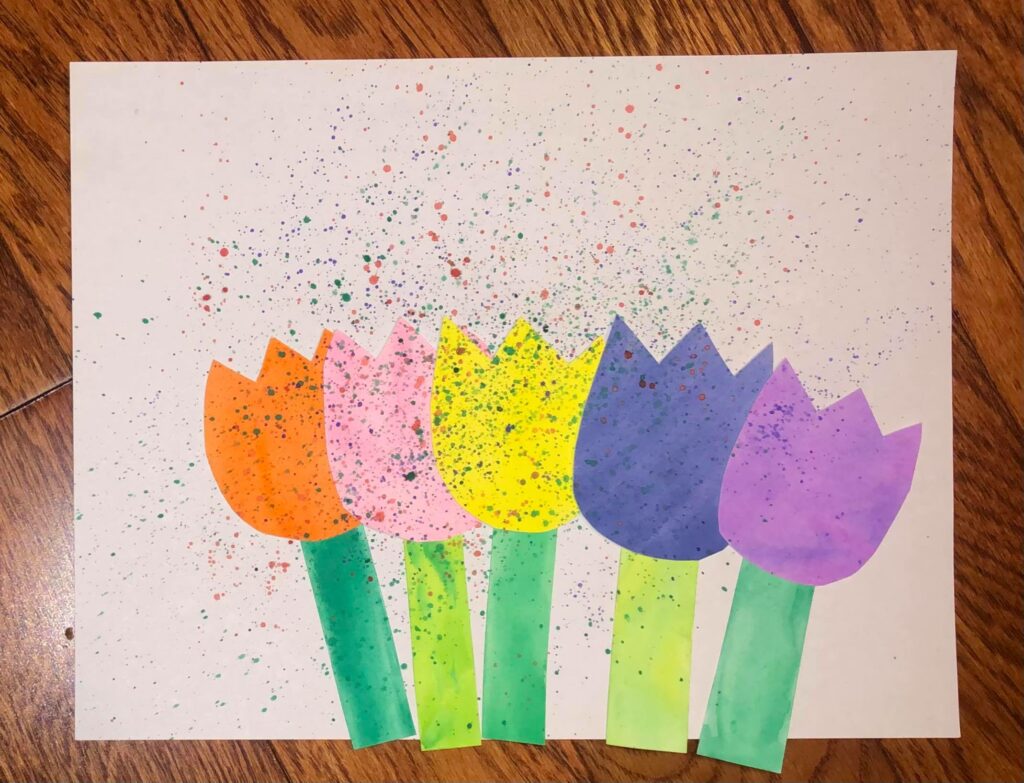
After I glued down my flowers, I decided to take out the watercolour paints and splatter the paint. I only used three colours, I thought anymore would make the painting too crowded. To flick the paint, I took a paintbrush with watercolour on it and used my thumb to pull back the bristles. If your thumb moves towards you, you won’t get hit by paint!
Pros:
- Nice spring activity. The colours are bright and it makes me happy that Spring is finally here.
- I liked painting the colours on the paper first and then using them to cut out the Tulips. I think this was a much better alternative than construction paper since everyone can decorate their own sheet however they want and then we can share as a class. It also gives students the opportunity to experience mixing colours.
- Involves organic and geometric shapes. The stems are all rectangles and the Tulips are an organic shape. This could be an introductory lesson to a shape unit.
Cons:
- Splattering the paint is really messy. The drops are all really small so it is hard to see what you got it on. The teacher would need to prepare before doing this in their class.
- Glueing watercolour paper onto printer paper doesn’t work. The watercolour paper had bent a bit from getting wet and the edges didn’t stick down to the printer paper sheet.
- The activity would take a couple of days since the painting of the paper would take a while to dry and then splattering the paint would take a while to dry.
I would use this activity in a class! It is a really nice way to bring Spring into the classroom; I can only imagine how pretty these would look covering a classroom’s walls. There are many different curricular competencies that could be applied here, such as connections to shape and colour.